Why do I need a membrane for a Tile Floor?
It’s common these days to hear about a membrane from your local tile contractor. Are they needed… or is it an unnecessary up-sell? Let me give you the breakdown. A tile membrane will offer crack isolation properties when installing tile provided the sub floor and existing structure meets deflection requirements. Deflection is a calculation based on the span of the floor, size of joists (and a bunch of other numbers and letters that barely make sense to anyone…) that will let you know if tile can be installed without bond breakage, cracked grout joints etc… These ratings will vary with different types of tile like Ceramic, Porcelain and Natural Stone.
Cement board seems to be the go-to application for homeowners and inexperienced pro’s and just to let you know, installing cement board does absolutely nothing but add height and weight to the floor. Although it’s obviously rigid enough to set tile on, cement board will not provide structural integrity. When cement board is mortared and mechanically fastened to a sub floor makes for a fine base but when the joists move they will pull the sub floor which will also pull the attached cement board causing definite movement to the top layer.
Now that cement board has been ruled out, here are some steps in a standard application that I would use:
- Remove existing flooring.
- Inspect, patch and repair/replace sub floor as needed.
- Pending deflection calculations it is common to fasten an additional layer of plywood on top of the sub floor to provide additional strength. This layer is NOT fastened to the joists and will deplete stress and lateral movement.
- NOTE: Adding additional height to a floor may change your plans for transition strips at doorways. 99% of the time, I have my clients wait to make a selection for a transition strip until the floor is rebuilt and we know exactly where the tile will finish to existing flooring, doorways etc…
- Install flooring membrane.
- Begin tile installation.
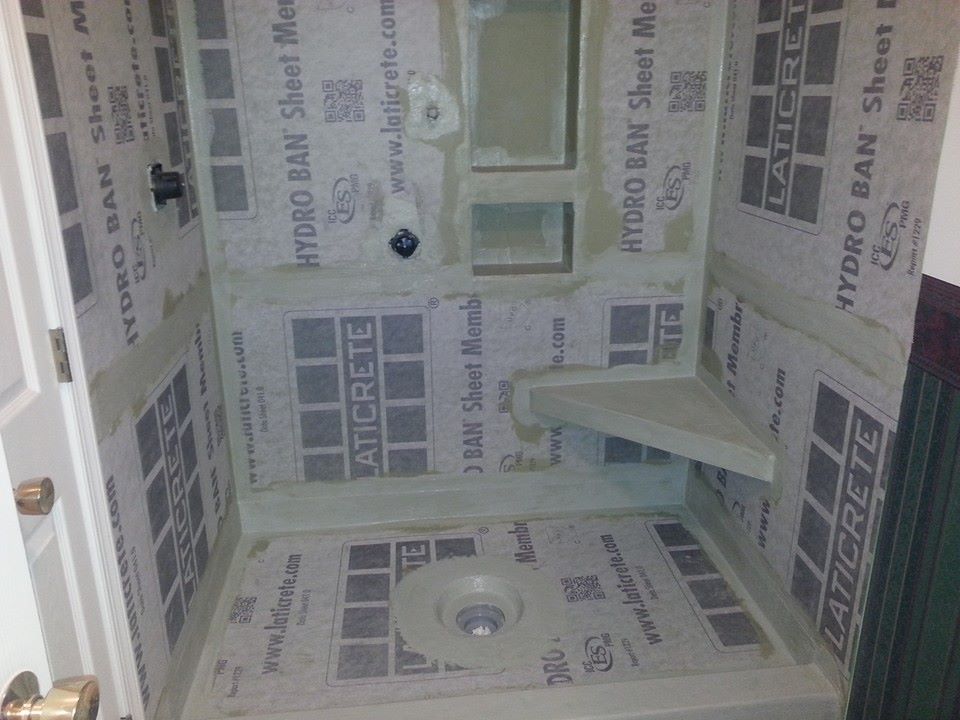
There are quite a few different applications for installing tile on floors like – over plywood, over mud job etc… but for this blog I wanted to use Laticrete Strata-Mat as an example. Laticrete International produces tile installation materials with a reputation for globally proven construction solutions. (+1 for the last brown nosing sentence…) 😯 (very true though)
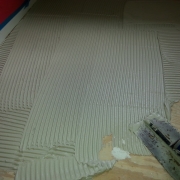
After the membrane is cut to size a flexible modified thin set mortar is applied to the sub floor using an appropriate sized notch trowel. For a membrane installation it is common to mix the mortar with some additional water so it spread quicker and collapse easily to embed the membrane with full contact between the sub floor.
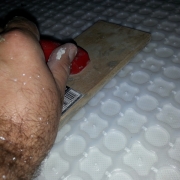
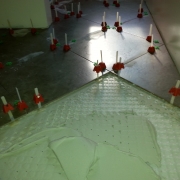
After the membrane is rolled out a wood float is used to apply pressure and embed the membrane. Working from the center to the edges will release any trapped air between the two surfaces. Strata-Mat is clear which allows you to see the mortar coverage to the membrane.
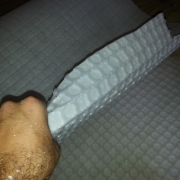
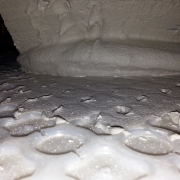
Membranes are packaged in a roll which creates a memory and will sometimes lift while installing. One nice feature that I noticed with Strata-Mat is the larger size of the waffle pattern. When I reverse roll the material, it will take up the new shape easily. Waffles are then filled with mortar to create a flat surface to apply tile. Waffles can be filled and cured prior to tile installation or during installation.
A membrane like Strata-Mat will absorb shock when the structure moves leaving the finished layer with years of undoubted performance and durability. For more information on tile floor installation, Laticrete products or any other questions feel free to contact us or leave a comment below. I’d love to hear your thoughts!

