Tile Shower Layout
After browsing around a few contractor, homeowner and photo-type forums I took notice to some proudly posted photos that I thought were less than desirable based on the tile layout. My first thought was, “What is a proper way to place the tile so that everything matches up nice…?” and thought that would be a good topic for a blog. Anyway, before I can answer that I’ll start off with a few things that a tile installer will struggle with on a constant basis.
- out of square tiles
- overall size and thickness variations
- large format tile is constantly bowed from production procedures
- different types of tile may be more difficult to achieve a clean saw cut
- planned placement of niches and other accessories
- straying away from sliver cuts
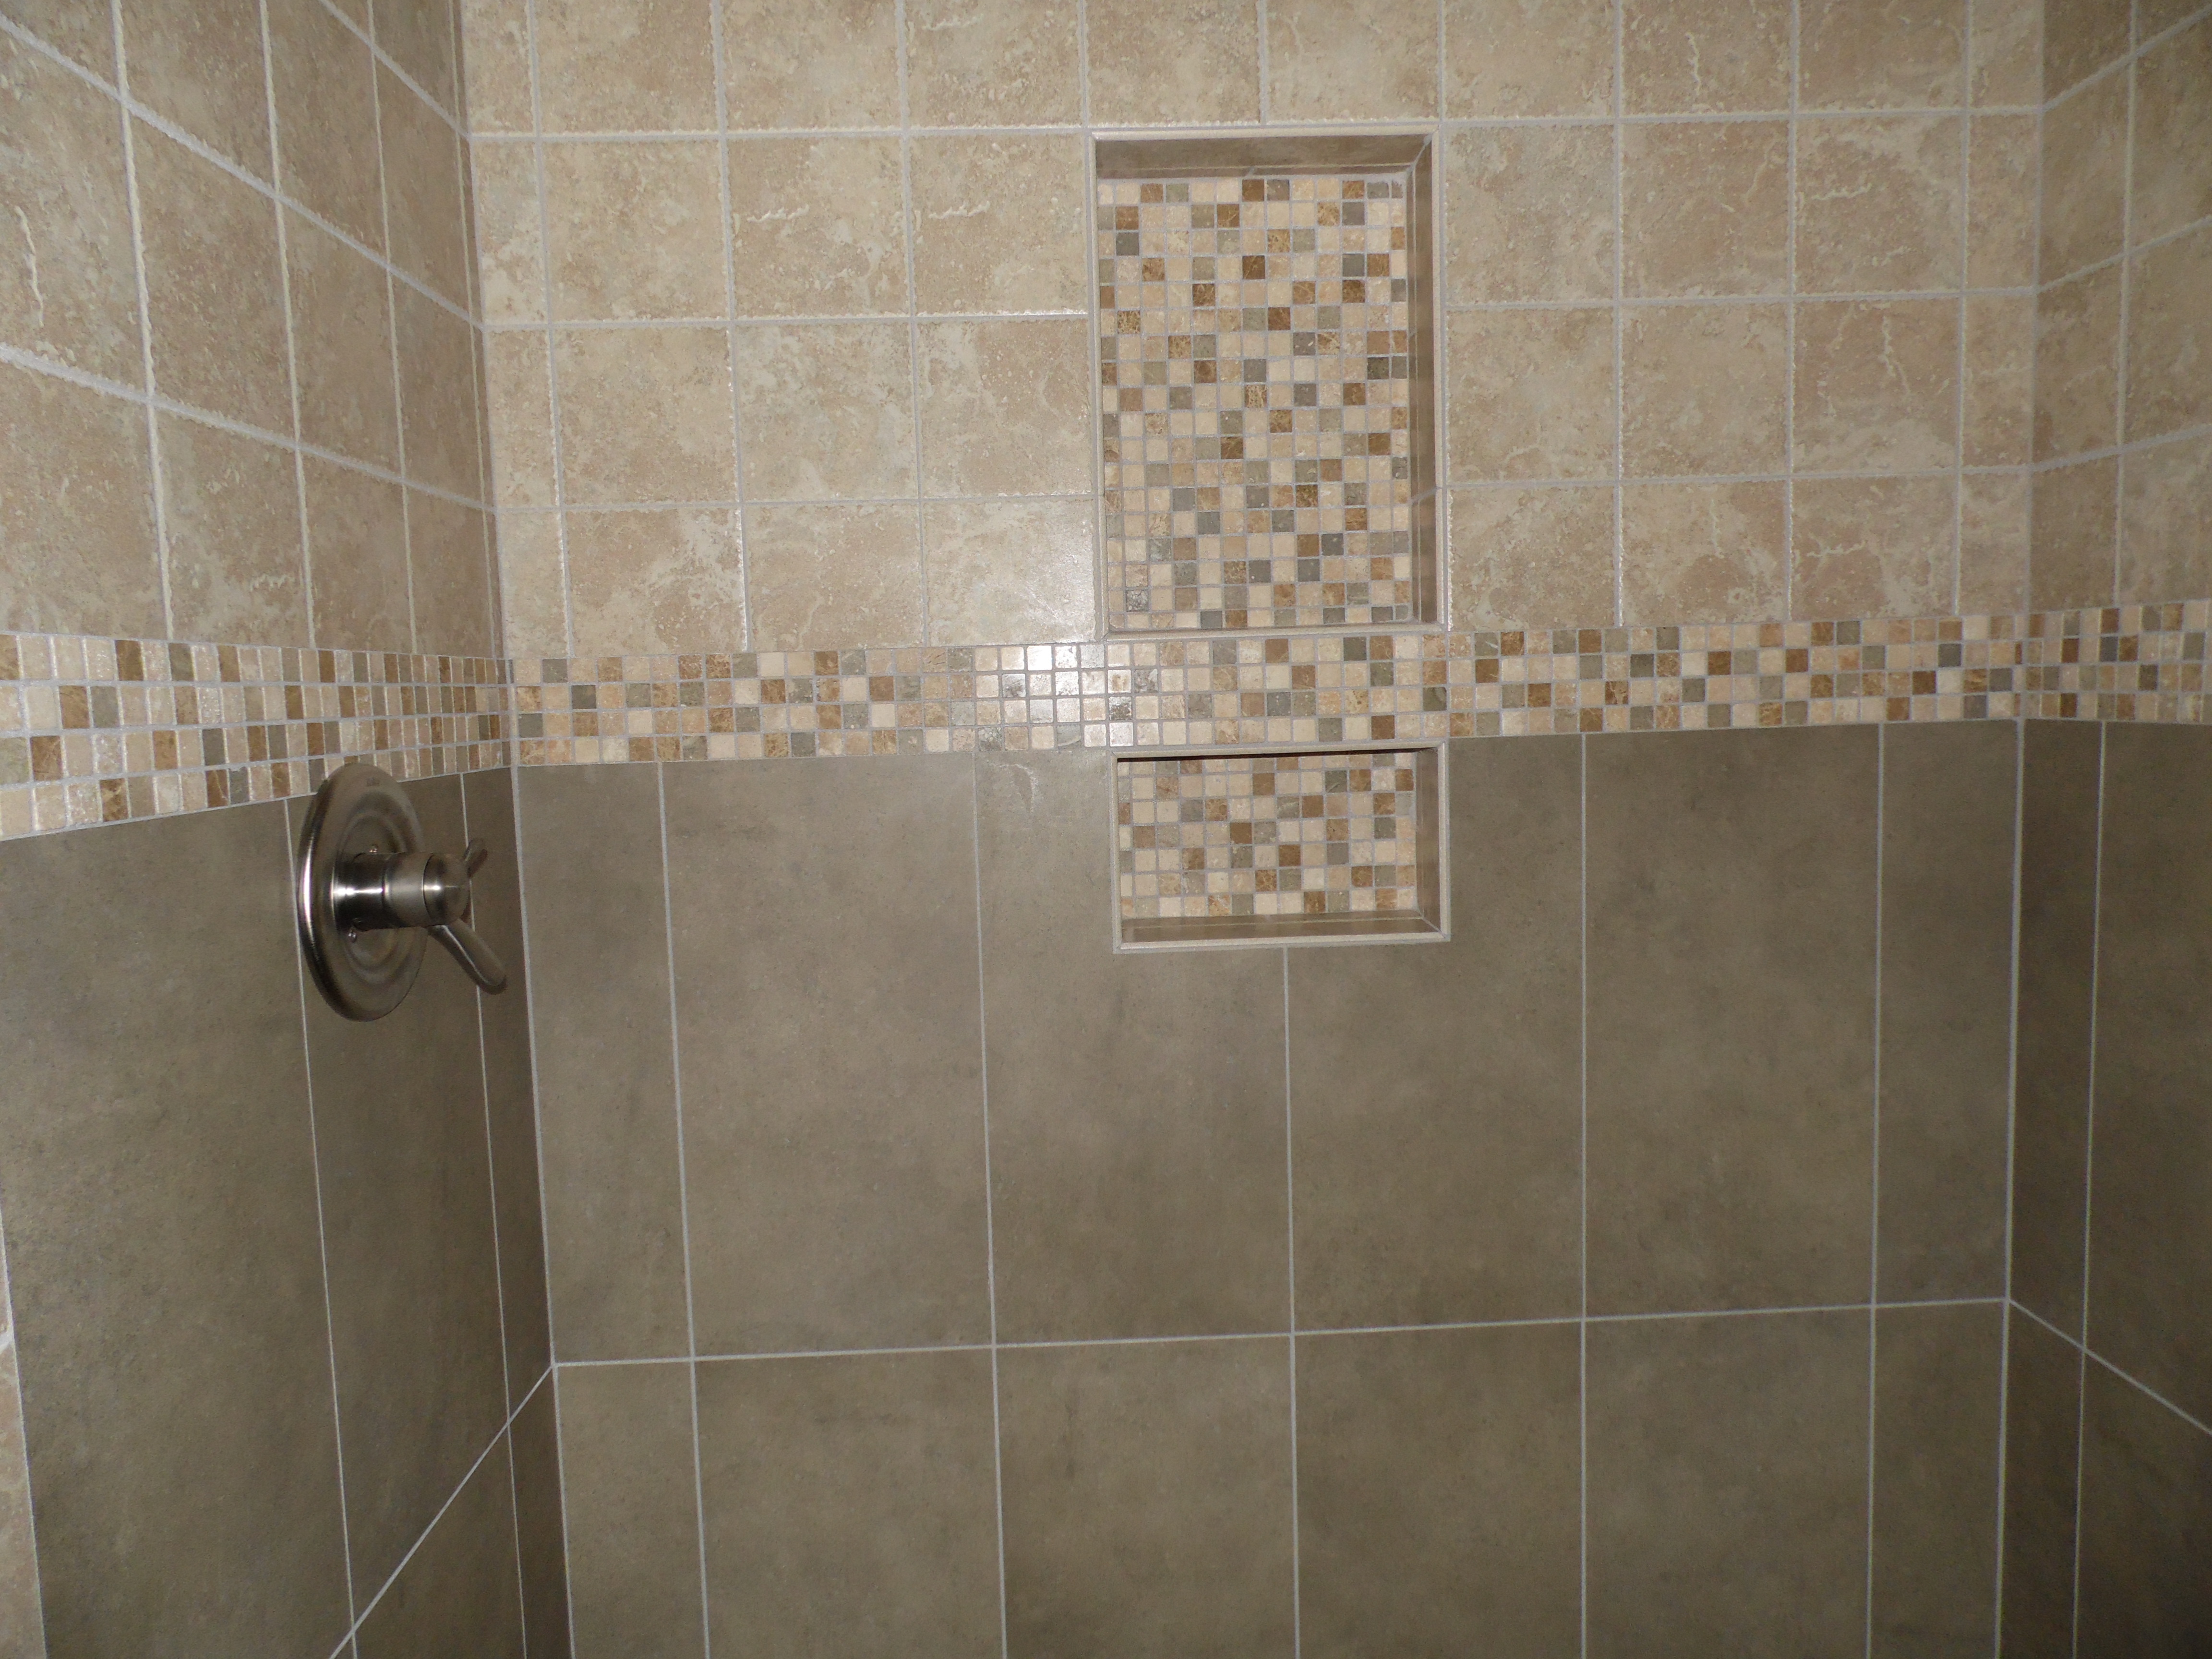
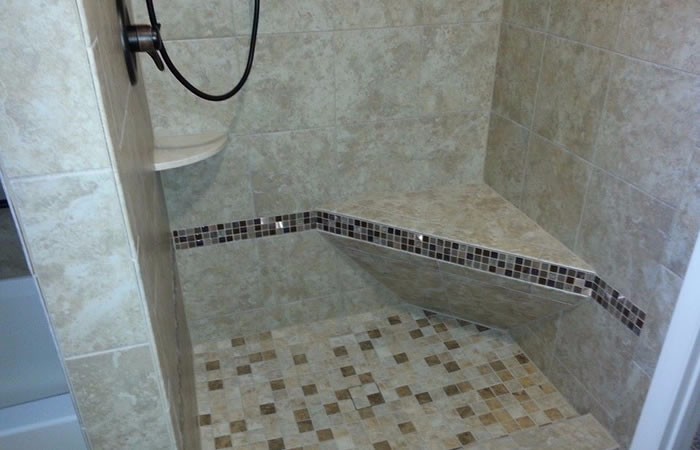
Tile is never perfect so it’s always up to the installer to do their best and make sure the overall look is presentable. The layout is typically the most time consuming aspect and will vary in many different situations when considering which pattern(s) are desired. Many times I can throw up a laser level or strike a few lines and go to town (after a couple dry mock ups for sizing on the wall) but more than often I find myself spending a solid hour or two if not longer drawing out each tile on the wall… A diagonal pattern is a good example because after one wall is complete, the corners must be mirrored so the grout lines will follow each other nicely as the tile wraps around the inside corners.
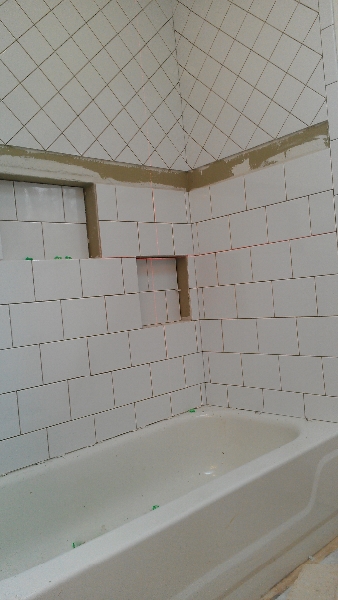
Here’s a quick photo from a past project while in progress. I first tiled the bottom portion in a running bond (brick lay) pattern and followed the grout lines through the back of the niches. Above that is the opening that was left for the glass mosaic inlay which was set very last. The top portion is a 4″x4″ ceramic on a diagonal (sorry for the bad cell phone pic…) pattern which had to be adjusted multiple times so there wasn’t tiny corners on the mirror side. I also wanted the tile to die into the bullnose trim with a decent size piece at the end of the wing walls.
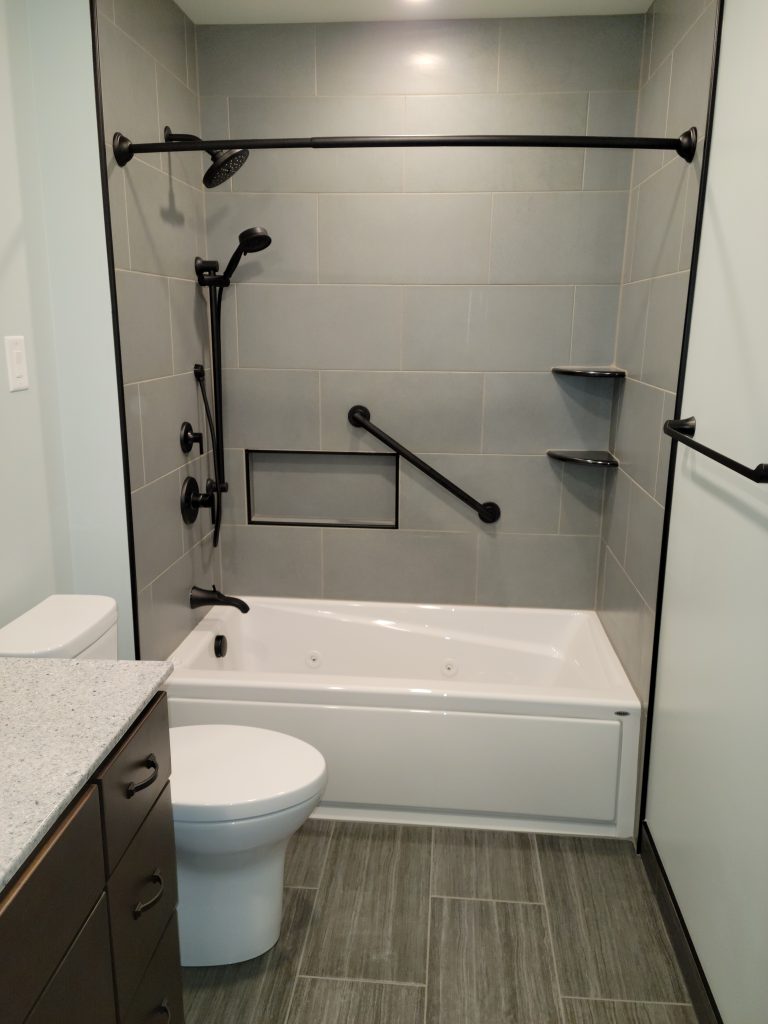
It’s not uncommon for plans to change after the shower is built and ready for tile but a well thought out design will go a long way. Flowing tiles and grout lines from wall to wall is always a cleaner look and a definite topic of conversation during the planning stage.

