Grouting a Tile Shower with QuartzLock2 (a premium product)
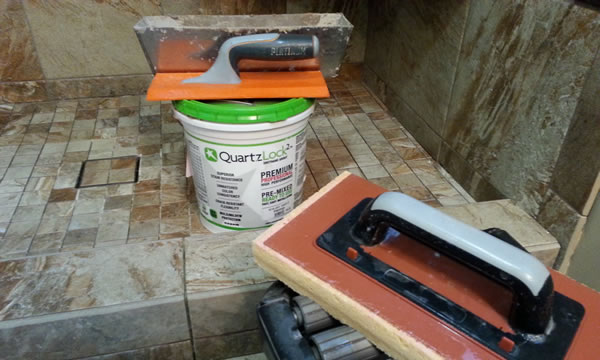
Many tile contractors have their own preference of products to use for a tile shower and I would say there’s a lot of great products on the market when it comes down to mortar, waterproofing, grout etc… One of my go-to products for grouting is QuartzLock2 for many reasons:
- Color consistent from batch to batch
- Pre-mixed in a bucket
- Longer working time (close the bucket and take a break – it won’t set on you)
- Stain resistant properties
- Comparable to epoxy grout down to the .005 factor in every test
- Still flexible enough to allow grouting changes of plane (inside and outside corners)
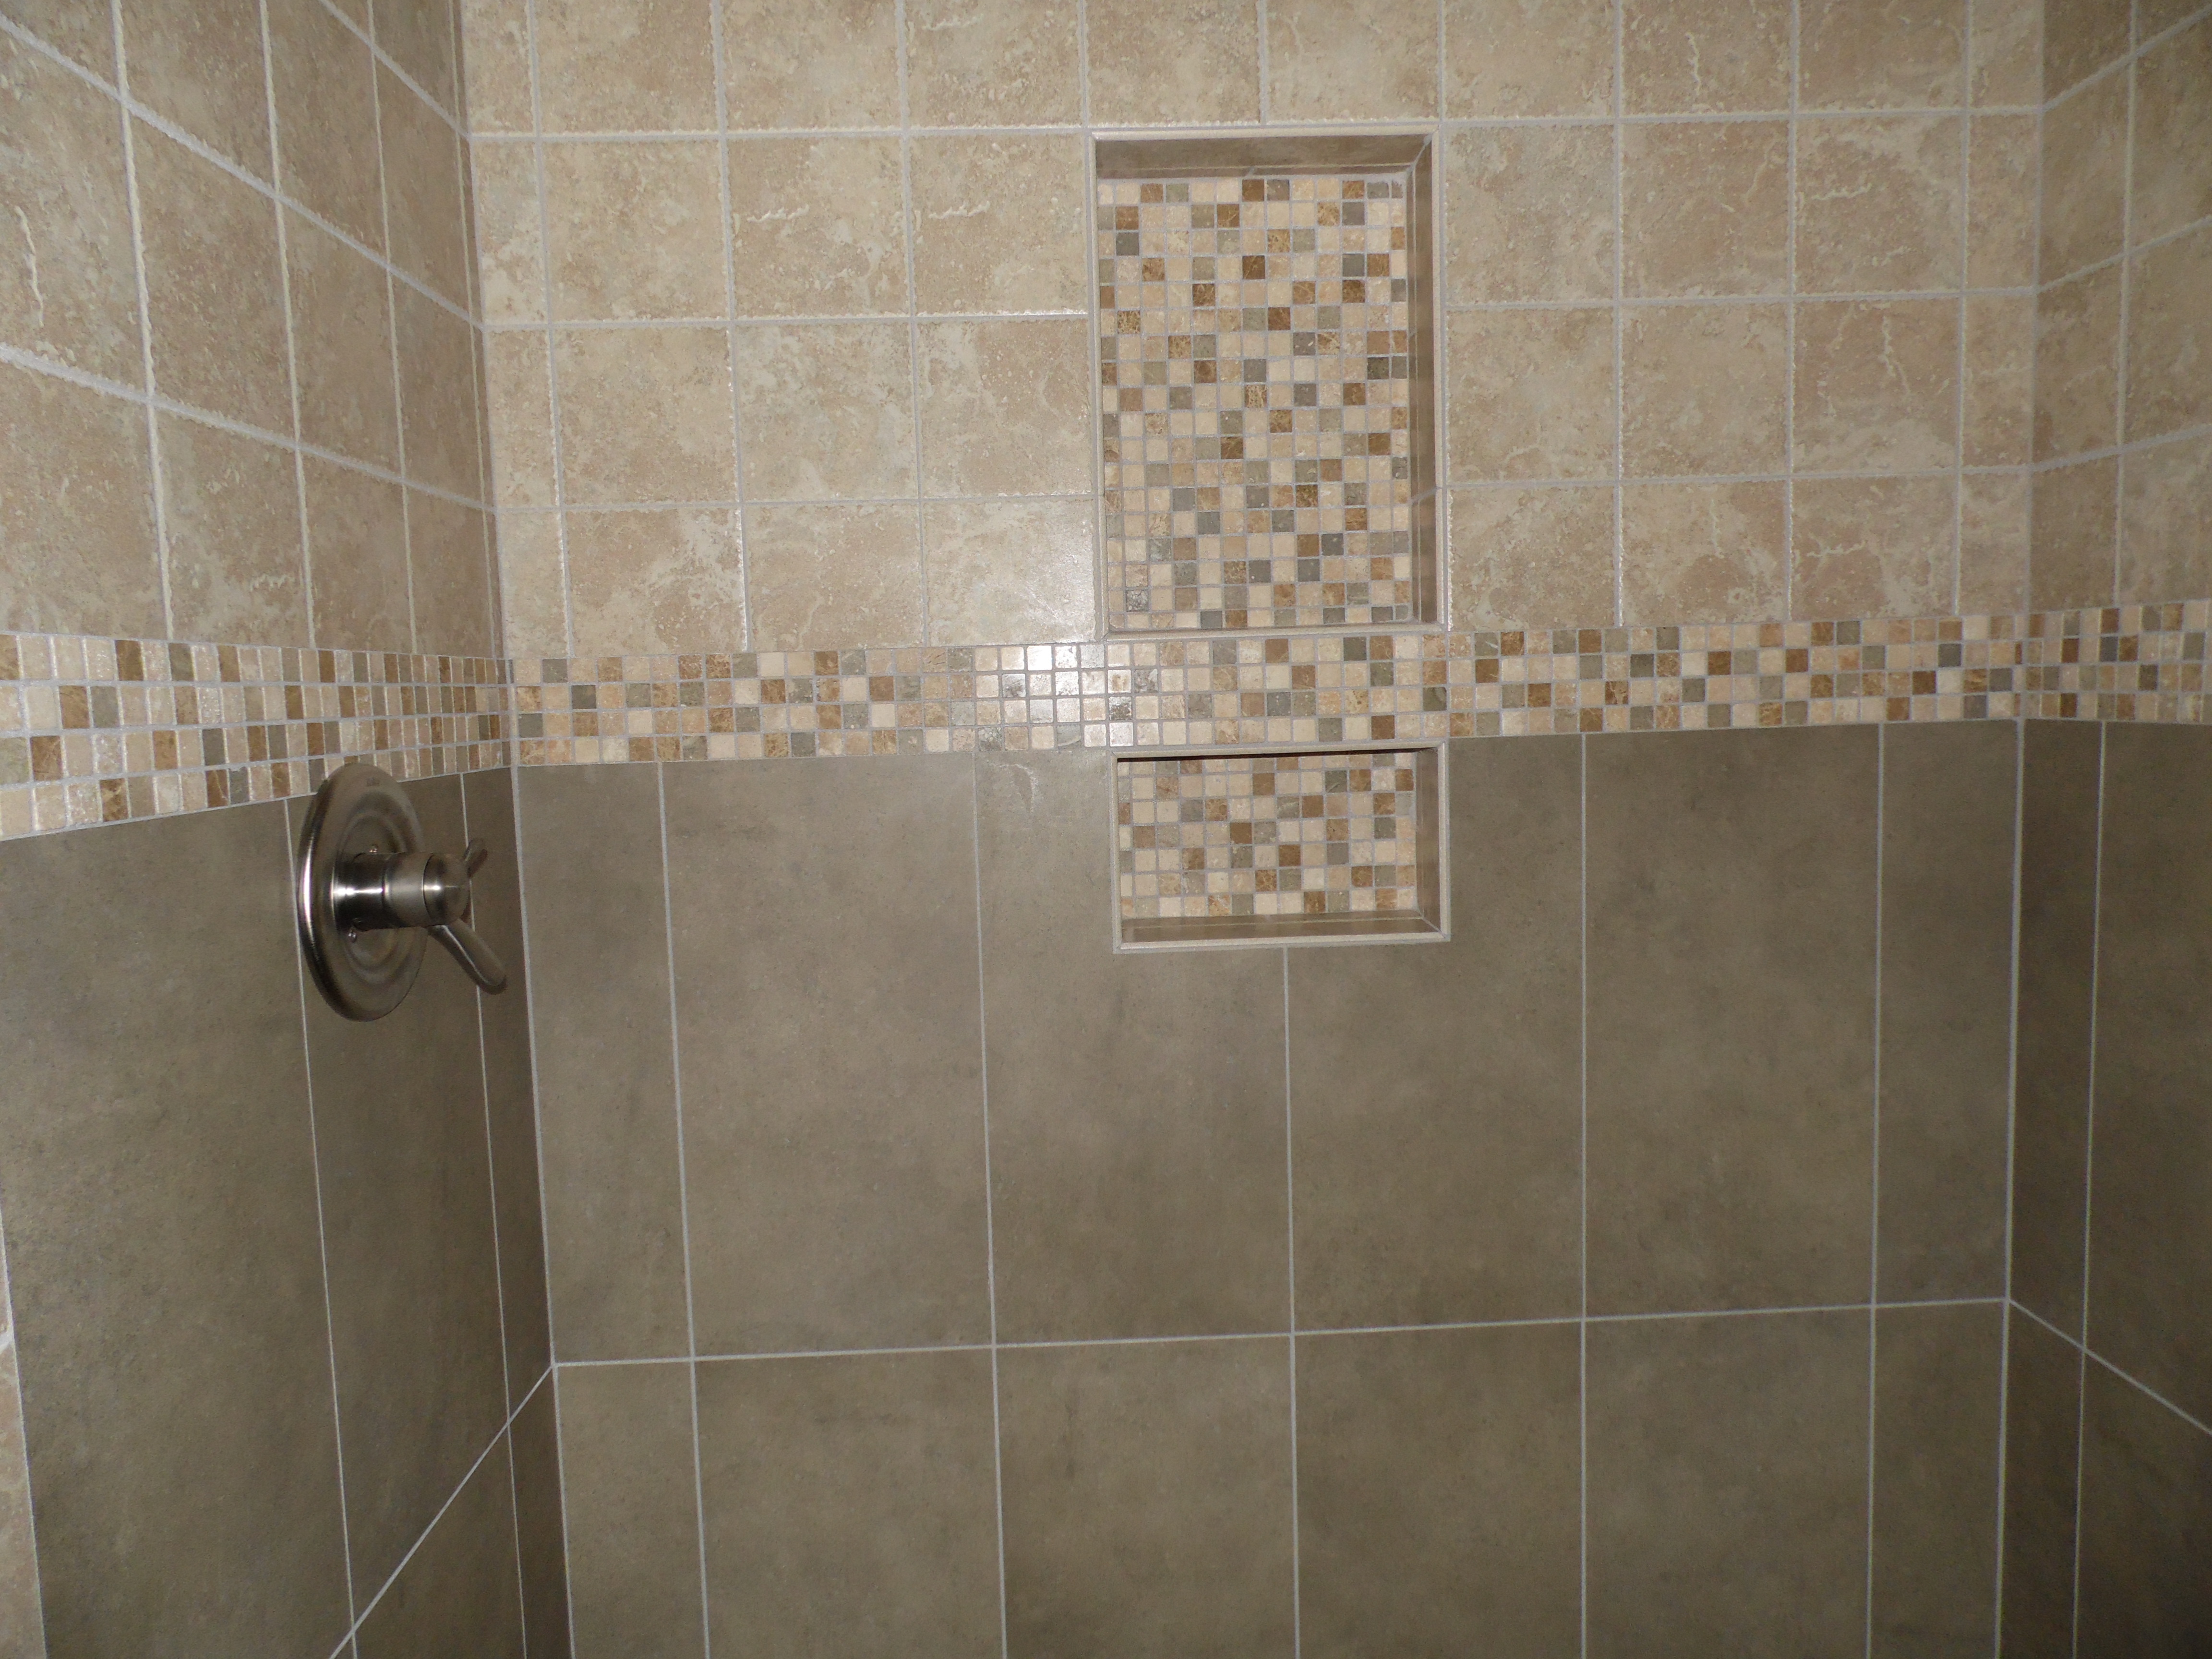
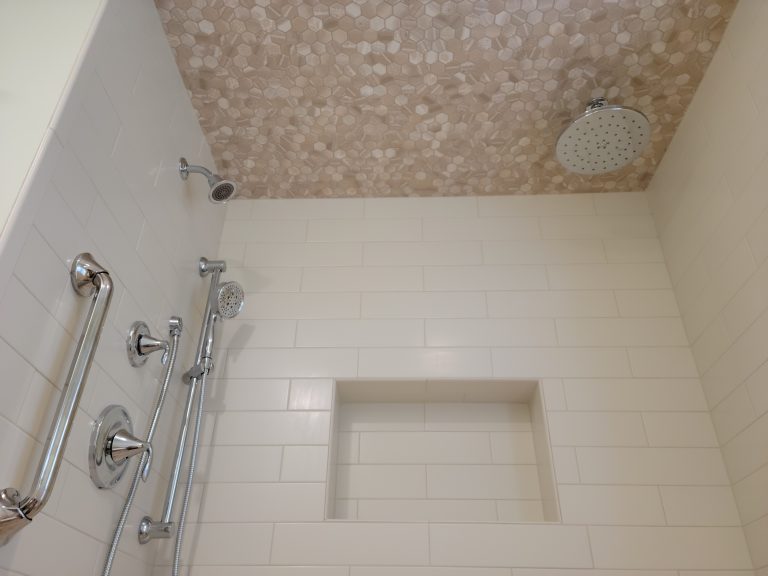
A standard 3’x5’ shower is only about 90 square feet and when you compare that to a floor grouting is an easy task. Walls are much different and can take a bit more time especially when you have obstacles in the way like niches, benches etc… (plus the “vertical” factor).
When you mix a standard cement grout or epoxy grout your working time is limited which will cause you to rush the process. If you run out of time you will find yourself mixing more and spending more money for an additional batch. One thing I do not like about epoxy grout is when you’re at the end of a job and find you have to mix a whole unit only to touch up 3 or 4 small spots.
My preferred tools are a grout wash station with epoxy sponge, regular sponges with extra buckets of water (Luke warm water works best and will loosen the grout residue off the tile easier), drywall mud pan (this will help catch falling grout on vertical applications and keep the mess down) and Platinum grout float (very heavy but I like the long front to scoop grout out of the mud pan and it cuts grout off tile very well). I also use a smaller float for inside of niches and tight areas.
My system probably takes much longer but I’m not in a rush when it comes to a nice looking grout job. The first thing I do is grout from the corners – out a few inches and then do the same around the ceiling and wall ends where the bull nose trim is placed. This will keep you away from the corners when you grout the field. For this portion I do all of the washing by hand with a sponge because it’s only minimal. *Remember… there is unlimited working time so you can actually have a structured plan to go by.
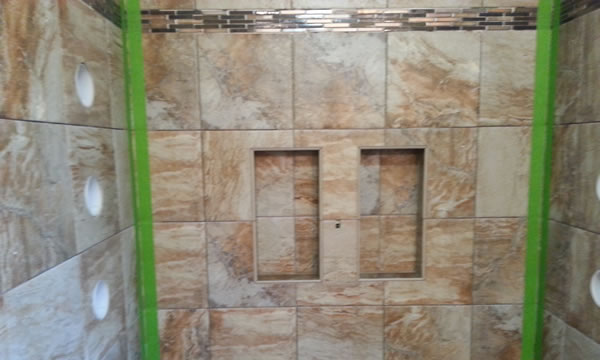
The next step is to grout the inside corners.
I use Frog Tape to create nice and even lines up the walls. The next part is when you get your fingers all sticky because you have to ball it up in your hand and work it up and in the corner joints. Basically the middle finger does all of the work… as the index and ring finger will keep the grout funneled to the joint.
If you’re a beginner, you may want extra wide tape so you don’t slop grout over the joints that were previously grouted (out from the corners). After one seam is completely filled I wait a minute or two and tool the grout with my finger and then float it with a well wrung out sponge. When complete, I will then peel each side of the tape off the wall… this will lift the sides of the grout a bit (just like when you use masking tape for a caulking joint). I will then use a sponge to lay the edges flat and then use my finger where needed to smooth the joint.
If you’re good enough, you can also use a paint brush that is lightly dampened. When the corners are complete I go back and double check all the grout to make sure nothing sagged down… if so, there is still time to tool it back into place or add more if needed
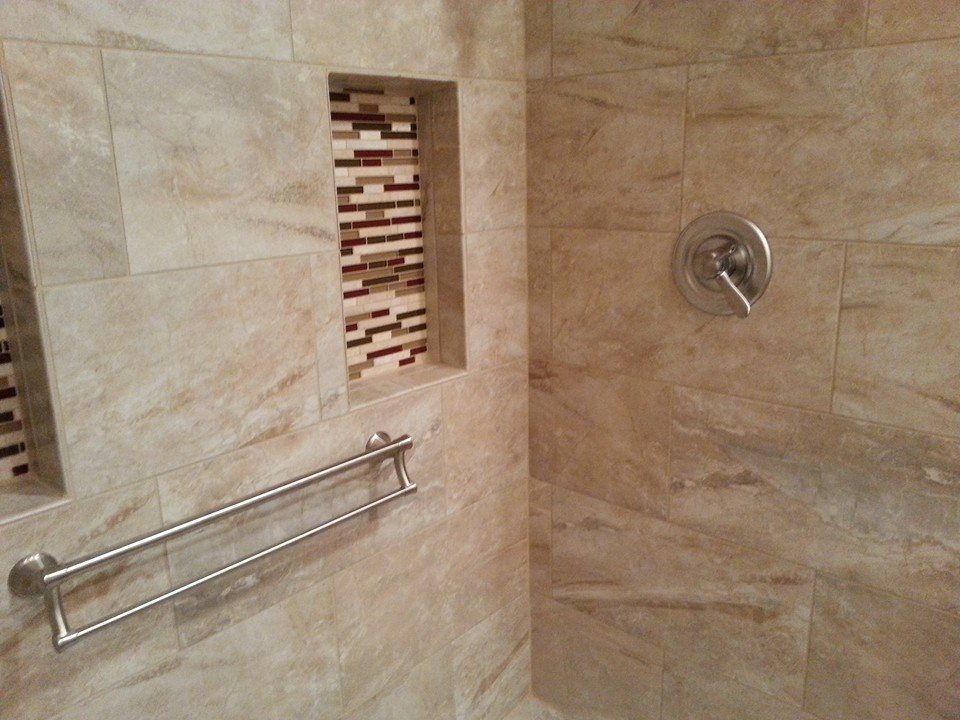
Now that the corners are finished I will grout the inside and outside joints of the niche (and underside of the bench… in this case). I use a smaller float to help maneuver the grout inside the joints. When I wash the inside corners I will actually use the worn sponge that I use to clean my floats with (because it will flex into the corners easier) and for the final pass/wash I use the new sponge to pick up all additional residue from the grout.
The tedious part is done! When I start grouting the field things go quicker because I can keep away from the corners etc… to make washing a breeze. I work from the top – down grouting small sections at a time (Urethane grout sets up fairly quick so it is mandatory to do so).
After grouting approximately 6-8 square feet I do my first wash by hand with a sponge to work it around and in the joints. The working side of the sponge will become saturated with grout… Flip the sponge over and do it again because this will help pick up additional residue almost wiping the tile clean. This is where I put the hand sponge down and use the washing station for the final pass and I will re-clean the sponge pad and repeat until all grouted areas are wiped. Then repeat until all the walls are complete.
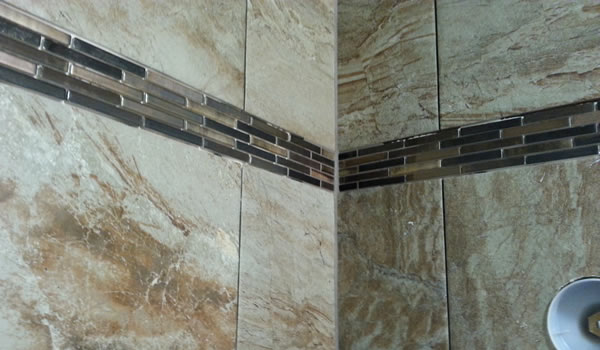
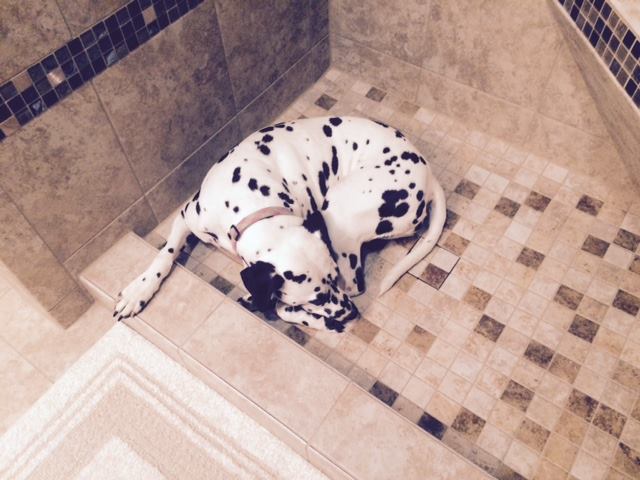
Before moving to the floor, I finish the top of the bench and inside corners. At this point, the floor goes quickly and I finish off with the curb but I am not done yet… By this time I’m about sick and tired of grout so the next day is when I dress up the joints where the walls meet the shower floor using frog tape just like I do with the inside corners of the walls.
I will move on to wrap up other odds and ends to complete the shower/bathroom remodel. QuartzLock2 requires 7 days of cure time before the shower can be used and or the grout will fail. All that said… by the time the job is complete and shower doors are installed there really isn’t that much waiting involved.
Like many professionals would agree… many homeowner’s have a vision that tile installation and grouting is simple work, however, it takes a lot of time and patience to provide a long lasting shower from start to finish.
Are you a homeowner in New Cumberland Pennsylvania that was just about to attempt your own tile installation? Think twice – We can offer a great package on a tile shower or full bathroom remodeling project and ensure all the details are spot on with the best quality for a long lasting end product!
Please feel free to leave a comment below! I’d like to hear your thoughts and/or questions on this topic.

