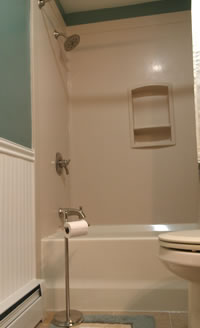
Will my toilet be functional during a Bathroom Remodel?
Sure it will! Remodeling can be tough when there’s only one bathroom in the house, but taking proper steps throughout the project will ensure that the toilet can be useable at the end of each day’s work. Many “tile setters” don’t do much with plumbing, so be sure to keep that in mind when selecting your contractor. You will want a company that is competent and well versed in all phases of remodeling to pull this off successfully (hiring the wrong contractor could leave you knocking on the neighbor’s door…) (or renting a porta-john). Obviously, this can lengthen the project; however, I’d like to show you how this can be done with the right steps. Our current project is in Harrisburg, PA and we’re building a tile shower, tile floor etc… Luckily my client has an auxiliary shower in the basement which allows the proper time to install a tiled shower.
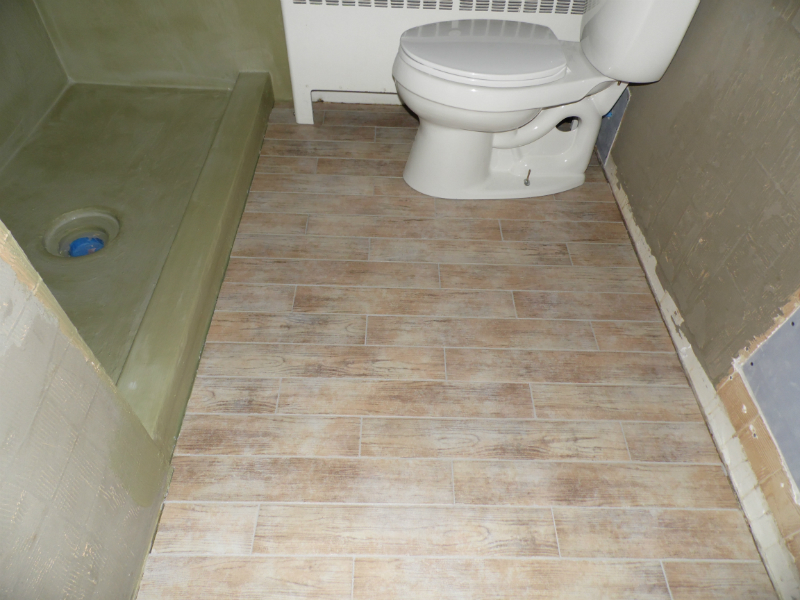
During the demolition and rebuilding phases, we had to remove and reinstall the toilet quite a few times to strip the old floor and replace the water supply line inside the wall. This can be done very easily with a reusable foam ring. Because of the additional height of the cast iron toilet flange (after the flooring was removed) I used some ½” plywood to prop the toilet so it wouldn’t rock back and forth.
The subfloor was prepared with Green Skin Underlayment. Green Skin is a peel and stick membrane that was selected for ease of use and quick installation. I was able to install the membrane, reinstall the toilet and begin tiling from the toilet to the bathroom door. The tile was installed with Laticrete 253 Gold Rapid setting mortar. A rapid mortar cures very quickly and will accept light traffic in 3 – 4 hours.
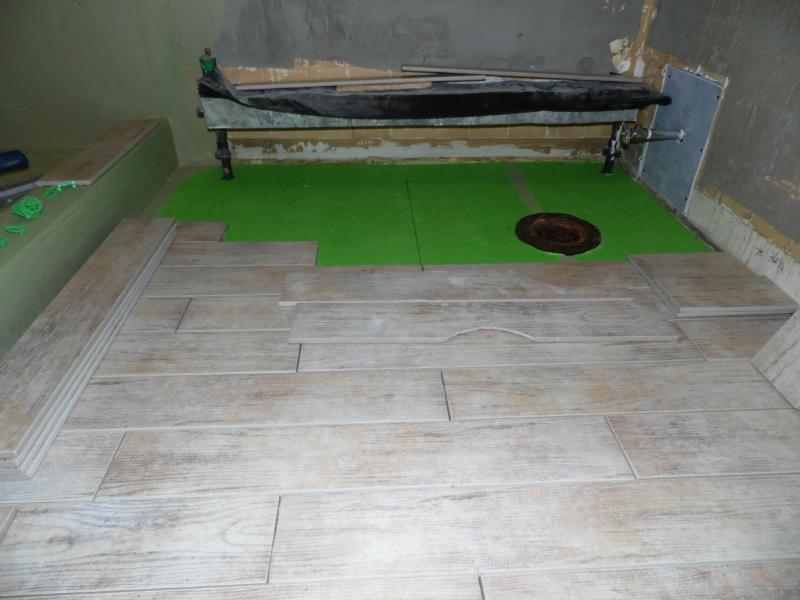
The next day was action packed! I arrived to the job early to remove the toilet and start making my cuts for the last portion underneath the toilet (and to the back wall). The tile was set and then the waiting period begins… Here are some things that I do while waiting:
- Waterproof the shower unit
- Clean my tools
- Stage my tile for the shower area
- Take an early lunch break
- Call my wife on her lunch break to annoy her…

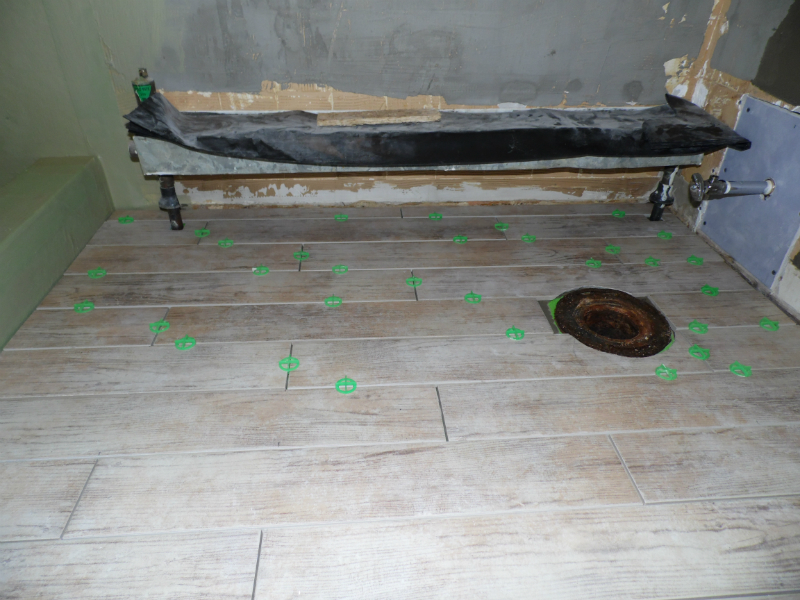
After three hours of wait time I can grout the area under the toilet. Rapid setting mortar does not require air to cure so after three hours it is hardened enough to grout. I use QuartzLock2 grout which is a pre mixed, urethane based grout that is very strong and flexible (and stain resistant too). I can open the bucket and grout only the area that I need to with no waste and then allow another two hours for the grout to set up.
The toilet is carefully installed back into place and then grouting continues from where I left off. In the event that the toilet would be needed, I leave a pre cut piece of Ram Board or Red Rosin paper to lay out and walk across (which has to be removed when traffic ends so the grout has a proper cure time over night. At this point, I am free to move on with the rest of the job with a functional toilet!
