Claw Foot Bathtub installation with Slate Tile walls – Part 1
It’s always neat when you get a phone call to tend to project in a historical home – Gettysburg, Pennsylvania to be exact. Not just your regular house as none of them are really all that “regular” since all of Gettysburg has some type of connection with the civil war… or simply just a few ghosts of war cruising around. Some more than others want to try and keep the theme in line when remodeling but this project was a bit different since it actually was a Civil War Hospital… and has a monument placed at the front of the property to signify this. Although,, you can’t just enter this specific one because it is private property but I can at least show you this awesome bathroom remodel I did! Well, half of it for now and I’ll explain the rest in a few…
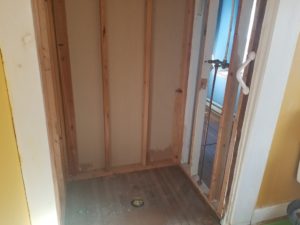
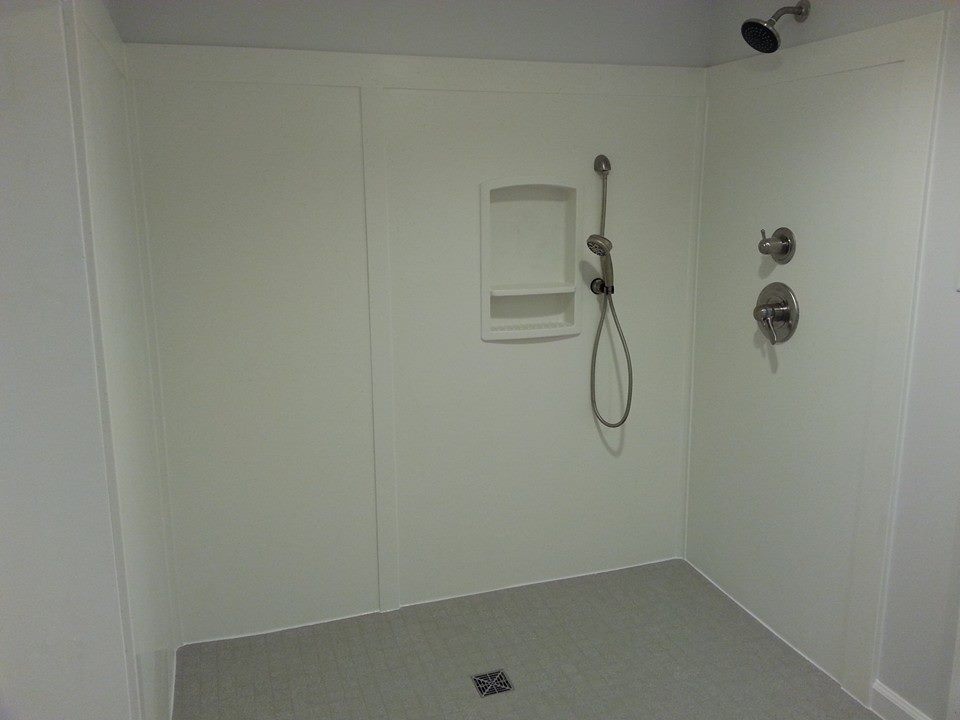
FIRST – I didn’t have any complete “before” photos because there used to be a fiberglass shower unit in this room (installed by a past owner) that was removed by my client before the job even started. I figured it was just plain ugly looking or they actually tried to start this job before realizing that they needed my awesomeness to do this right! lol (fyi… all my stupid jokes are actually leading up to my customer being a noteworthy DIY’er and crafts-woman)
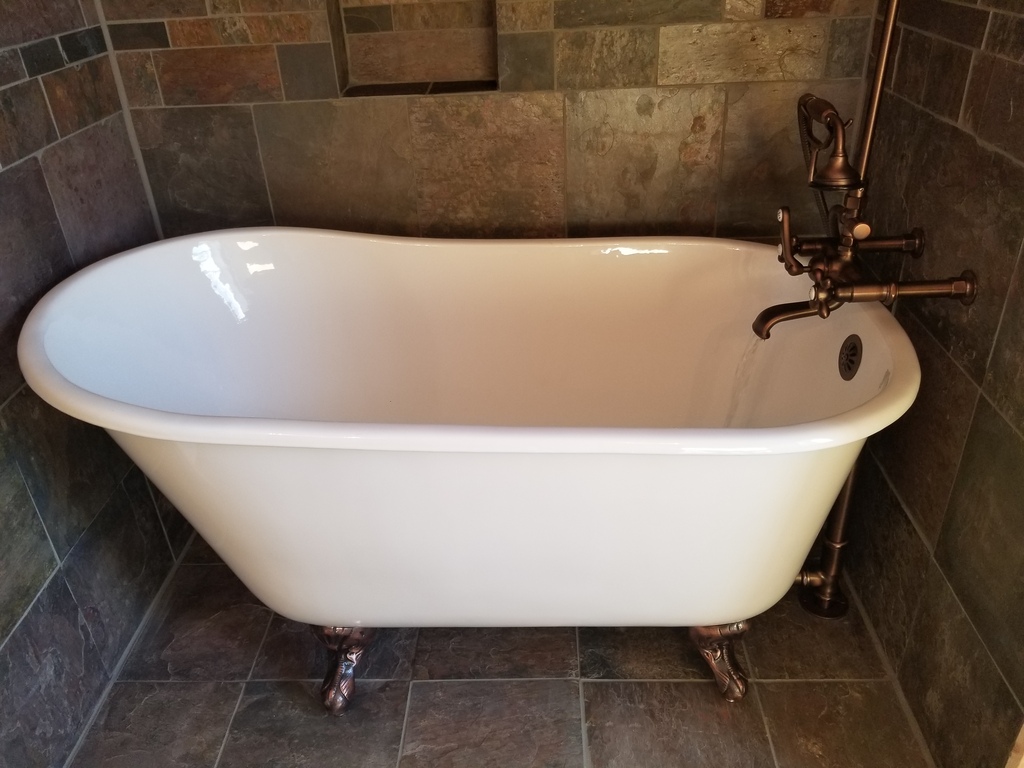
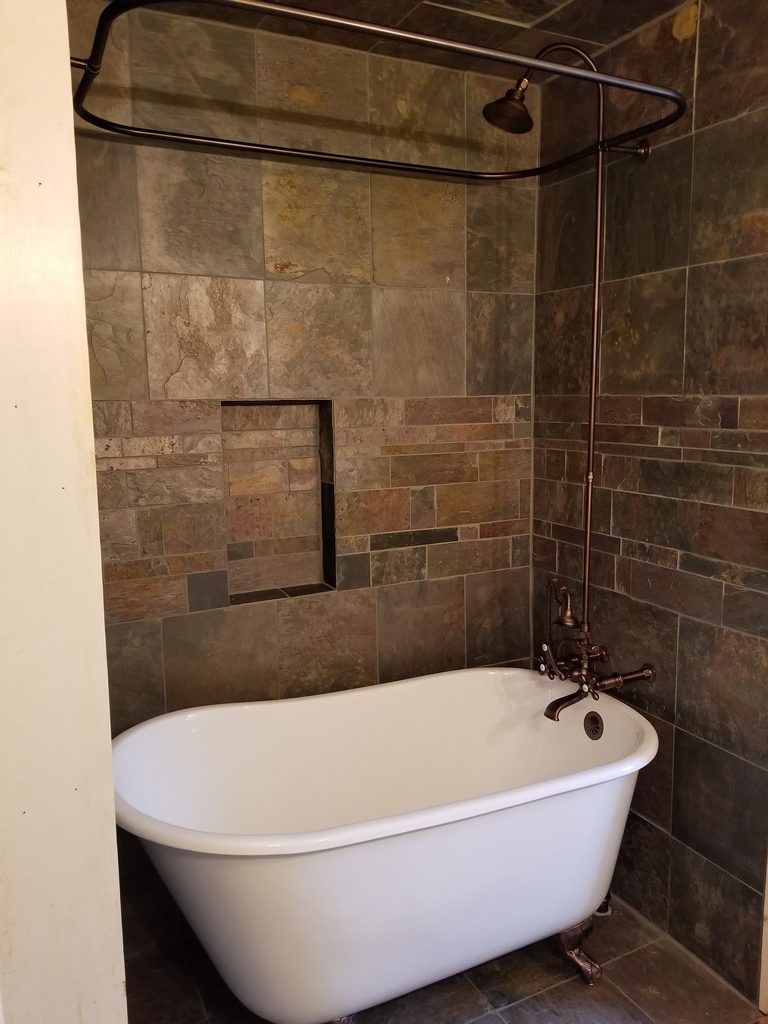
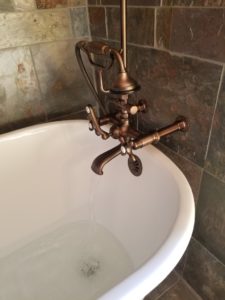
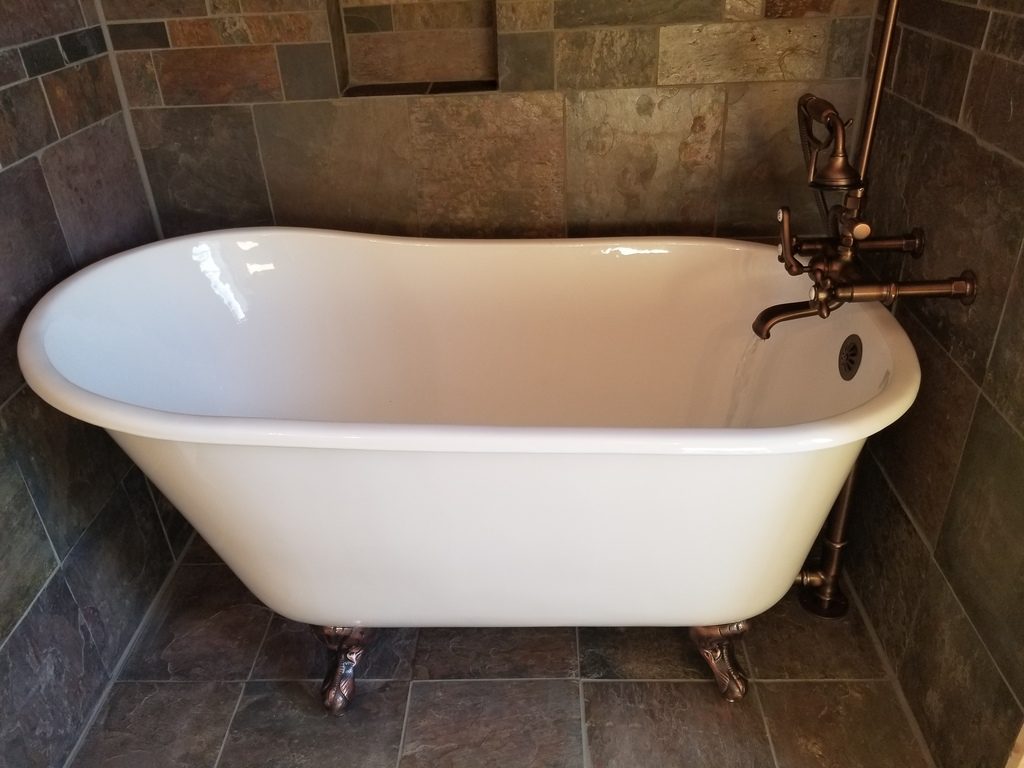
The idea was to have some type of a bathtub and at first I think she was looking for a drop-in bathtub with a tiled deck around it but there just wasn’t enough room to make that kind of stuff happen. We did think a clawfoot would look more classy and keep the theme of the house rolling. I had to remove the right wall and steal some space into the closet (from the reverse bedroom) to make this happen which wasn’t really a problem… especially if you want to fit the bathtub, take a bath… etc… So from there I would tile the whole alcove… walls, ceiling and floor and place a niche right kinda smack in the middle.
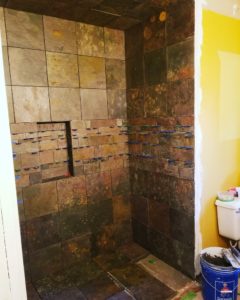
We went with a nice natural slate tile for the walls. A simple 12″x12″ tile on a square pattern! The banner going through the middle portion was randomly measured rows of slate cut down from the 12″x12″ tiles. It kind of reminded of the stone walls in the driveway leading up to the house which became my vision for this to set it off. Simple, Basic and Effective is how this became and that makes for the classiest projects in my opinion. I did seal the slate but we decided against any of the pigment enhancer versions for this… the idea was to seal it to preserve it but try to keep the natural sheen of the stone. I also went a little wild with the grout in some of the spots… well, in the slate there’s obviously uneven and stepped spots in the stone so I purposely grouted some of these parts to make it look as if the mortar was filling in some cracks etc… I mean, these are just small details that you’d have to actually see in person to appreciate.
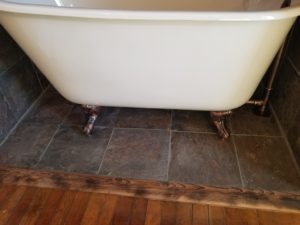
A FEW MORE JOB NOTES – Nothing was square, plumb, level etc… (but the house is literally a tank) The tub was heavy! At least this house has a very wide staircase and hallways. The floor boards really do have that scary creaking noise like you’re in a horror movie or something. (I have to admit… sometimes I was kinda scared working when I was alone…) Oh and the plumbing situation was kind of funky. That’s the kind of fun stuff you find in these old houses though. Also, since I had to tile the floor where the bathtub was sitting… the tiled part was a bit higher because of adding plywood on top of the wood floor for added strength so by the time I tiled it, we needed a transition strip. Well, my customer had some old wood in the barn that has been saved from other bits and pieces of other remodeling projects there. You can see here that I cut down an old piece that ramps down to the wood floor. She wanted to do the staining on it but I spent a little bit of time burning it with a torch to make it look old. I should have some updated photos later on that piece!
OK so maybe I should stop rambling and just wrap up this Part 1 by saying… after I completed this job… I was asked to come back and do some more plumbing (ugh…) So what happened there was that my client (all in the meantime) took some classes on cabinet making… and made her own bathroom vanity with some VERY nice cuts of walnut. I mean really nice grain patterns. So I installed a wall mount faucet and her awesome vanity with a vessel bowl sink too!!! So here’s the thing… I did take a picture or two of the vanity but you’ll see that in Part 2. This is because she has to actually wrap up a few things including wallpapering the room and what not. After all that is done,, I get to go back and take a few more pictures. Even though the other portion is not really my handy work… I think you should see it anyway and plus – I’m proud of her for making such a cool vanity! So I’m sure she’ll get in gear and finish this out!

