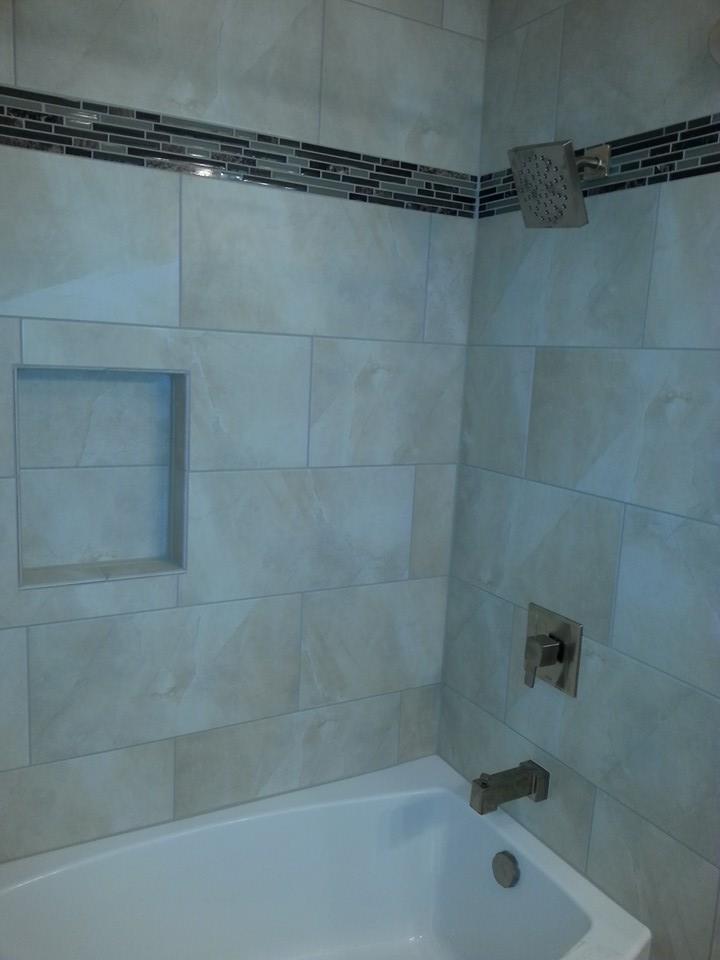
Adding a Decorative Banner to your Shower Walls
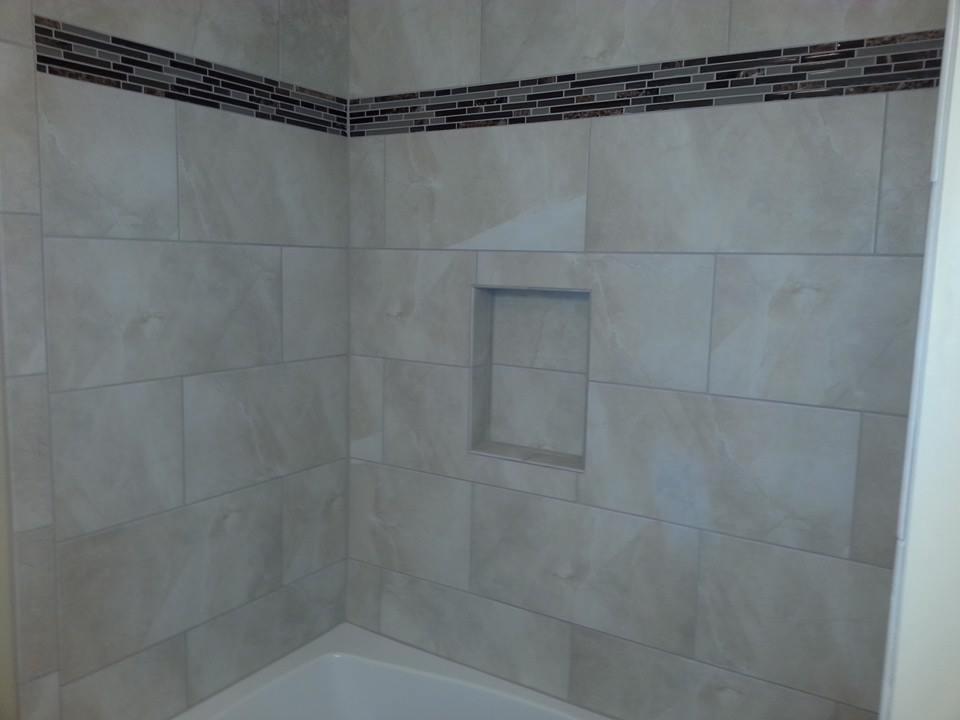
Adding mosaics to your tile shower can be as easy or difficult as you’d like… I’m finding that most folks want to keep a shower design simple and add that little extra splash with some mosaics. Sometimes one strip or two and even in the back wall of the niche. Additional bullnose, pencil trim etc… can be added to boarder the top and bottom, as well. This part of the job turns out best when you do a little pre-planning during the design and selections phase. You may not even know exactly how you want it until you see the selections at the show room or even after tile starts going on the wall.
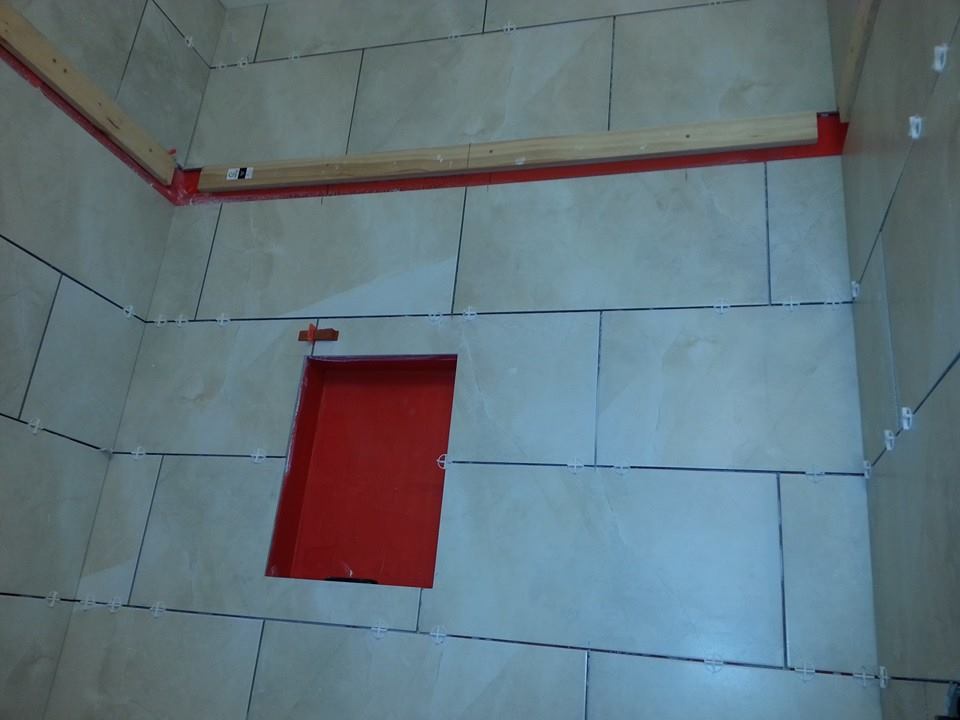
The important part for me is to know how wide of a strip it will be while laying out the walls. That way, the top and bottom row of tiles can be divided pretty close to even so you don’t end up with any very narrow sliver cuts. After that, there can be quite a few more steps to making it look good… (sorry, can’t give them all away) but generally after getting so high with courses of tile I would come to a stopping point and add ledger boards seen in the photo below from a tile shower job in Marysville, Pa:
This allows me to channel the width of the banner and do all that setting work towards the end while I’m trimming out the rest of the tile shower walls. Another thing you’ll take notice of is how the recessed niche is planned in conjunction with the walls and banner. It usually takes a bit of time to get these details all planned out… things that your big box installers don’t really pay attention to.
Since the field tile is usually thicker than the tile on a mosaic sheet I have to build out the banner channel with waterproofing sheet membrane material so I can get a pretty even surface between the transitions. The waterproofing membranes also cover up the holes that were put in the walls from the ledger board being installed so that’s a bonus too. There are also other procedures for touching up those areas so the surfaces are free of water penetration.

